The appointment structure will vary depending on your unique clinic setup. However, you can use the structures below as a general guide:
Welcome, Paperwork, Before Photos: 10 minutes
Consultation: 15-30 minutes
Consent & Intro Treatment: 15-30 minutes
Checkout & Set Next Appointments: 10 minutes
Total Time: 50-80 minutes
You’ll have a better idea of the actual appointment time after you have performed a few appointments.
2. Creating A Great First Impression
Show big smiles, greet by name, offer drinks, and show the restroom.
Communicate exactly what will happen next:
Paperwork, consulting, treatment (mirror expectations set while booking the appointment. Congruence = trust).
Have them meet the person they spoke to while booking the appointment, especially if there was a good connection.
Take into account any special details discovered on the initial phone call (e.g. mood of the person, the husband doesn’t want to know, has kids, etc.).
3. Paperwork
Give them your NEW PATIENT (not consent) forms. Let them know consent forms will be signed after the consultation according to what treatment they may get.
💡 Every new patient should complete a pre-assessment survey before attending a consultation. This will remind them why they took action in the first place and will help the consultant better understand their needs.
4. Before Photos
Taking before photos is important for 3 reasons:
It gives you a baseline for future improvement.
It shows the patient you are serious about improving their appearance.
It is legal documentation protecting you from litigious patients.
How to take before photos:
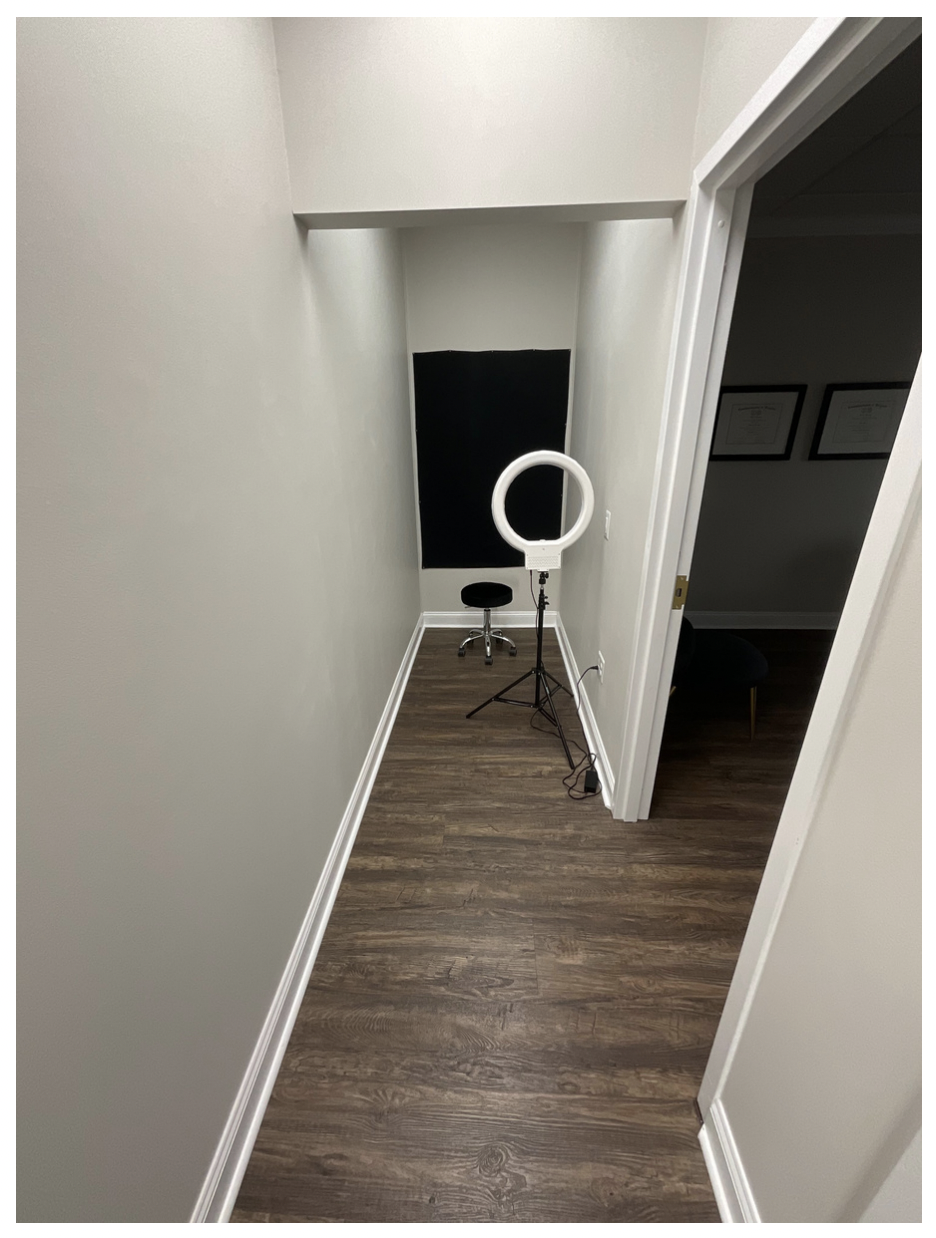
Dedicate a specific clinic area with consistent lighting. It doesn’t have to be fancy. The photo below is a great setup.
Take photos of front, oblique, lateral, and full motion if doing injectables. (You should have also received instructions for this from your aesthetics professionals.)
Pic Stitch can make simple collages of your B&A photos. Keep things simple so it gets done consistently.
Transcript
0:00 Alright. In this video, we're gonna walk through the welcome sequence. So this is a set of steps you want to take new clients through when they come through marketing with their system.
0:08 So the first step is to decide on the employment structures is very important. But of course it's gonna vary depending on your clinic setup.
0:15 Every clinic has a different set of staff, you know, treatment rooms, availability, etc. But generally you want to spend the first 10 minutes doing the welcome paperwork for photos that want to do a consultation to make sure that person is a candidate for the intro treatment that you're offering.
0:30 You then want to do your consent and the intro treatment. Next step is to do the checkout and set next appointments.
0:37 So the total time's gonna be roughly 50 to 80 minutes, but you'll have a much better idea once you start to book a few appointments.
0:42 So kind of you wanna create a hypothesis to start and then once you get some clients in, you'll then have a better idea of how long these appointments take.
0:49 You also get much more efficient at moving people from step to step so you can get a lot of new clients in consult with them and acquire new clients.
0:58 So next step is to create a great first impression. This is so important. I know you've probably heard this many times, but it's super important, right?
1:05 You want to show big smiles, greet people by name, offer them drinks, show them the restroom, communicate exactly what will happen next.
1:12 This is very important. You never want to be there to be any sort of ambiguity of what's going on. You want to communicate.
1:20 They're going to do their paper work. They're going to consult with you. They're going to do the treatment. make sure you're communicating and matching and living up to your expectations or what you're promising.
1:30 Three is to have a meet in person to the person they spoke to during the appointment. So you probably have someone in your clinic, you know, a clinic or a patient organizer, a patient coordinator, a front desk.
1:43 If you have someone speak over the phone, make sure they meet that person person because it's very important to establish that connection, especially they had a good chat over the phone.
1:51 You want them to meet them because that was their initial connection with your clinic, right? Next step is to take into account any special details.
1:58 So it's really important when you're doing the initial phone calls, take notes of any details, like for example, they wanted their husband to know the mood.
2:05 If you can bring that up in clinic, it really brings you, wins you brownie points because it shows the client that you really care about them and you remember the small details.
2:14 Step three is the paperwork. So you want to give them the new patient, not consent forms, you'll resulted because we'll why give consent forms for a treatment that you don't know there are a candidate for so you want to give them new patient forms.
2:28 This new pre-assessment survey is really important too so you want to make a copy of this and have people fill out this survey.
2:36 It's really important because it gives you an idea. First of all, it jogs people's memories and it makes them, it gets them to remind themselves why they're in the clinic in the first place.
2:47 a lot of them will forget, you know, why they responded to the adder came in. And then it also gives you talking points and fodder to talk about in the consultation.
2:56 So in the consultation, you can say, oh, I noticed you had fine lines and wrinkles. You're concerned about your dark circles.
3:02 Could you tell me more about that? So it's really important to gather this information through the pre-assessment survey. Either you can just do it online or you can have it fill it out in person when I get to the clinic.
3:13 Next is before photo. The four photos are important for three reasons. It gives you a baseline for future improvement. Show the patient, your patient, you're serious about improving their appearance, right?
3:24 You're in this game to get results, not just to give people, you know, facials that feel nice. You are here to get people results, and it's really important to get baseline photos so you can measure the results you're getting for people.
3:37 And then finally, this is something that not a lot of people talk about. as legal documentation protects you sue you, et cetera.
3:44 How to take before photos. So you wanna dedicate a specific area in the clinic with consistent lighting. Doesn't have to be fancy.
3:52 This is a perfect example, right? It's just a little nook in the hallway with a nice background and a ring light and a chair.
3:58 You want to take photos for the front, oblique, lateral, and full motion if doing injectables. You can use something like pick stitch to make a simple collage here before and after photos.
4:08 I know a lot of software is do this, but honestly, you don't need before and after software. You can just use your phone to make sure you're taking the photos and then use a software to make some nice collages of them when you want to show your results.
4:21 So that is the welcome sequence. In this next video, I'm gonna talk about the consultation process.